Its been such a long time since I've done a step by step post, that I thought I'd do another! Photo courtesy of Morguefile's copyright free photos.
You can follow along or even paint along if you like!
If you do that and finish it, post it on your blog and I'll link to it :)
Either way, I hope you enjoy the following.
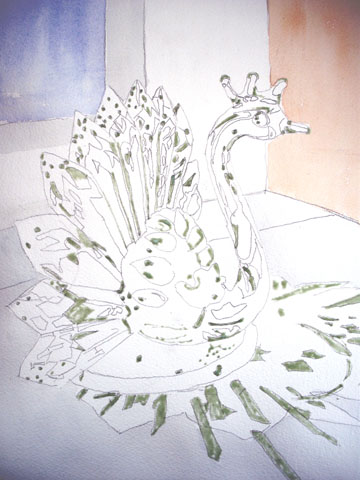
First the pencil drawing of the violin
then mask out the strings. I use W&N Masking Fluid, but any rubber mask will do. Its just to resist the paint when you paint the body of the violin, without any fiddly paint all around the strings !
next I'm painting the bottom right corner, which is background to the violin.
Wet the curved corner first, then drop in some alizarin crimson, some burnt sienna and some payne's grey. Leave to dry.
Last for today, wet the whole violin and then drop in - in a random fashion - some new gamboge. As you can see, I accidentally touched the corner of the background and it flared a little into the violin. Don't worry if that happens. blot it quickly with a dry brush and leave it be. Once overpainted, it will add character to the violin !
You can see I'm from the "don't panic" school of painters :)
Until next time...


.jpg)


.jpg)


.jpg)


